DIY Enamel Pin Display
Hi friends,
Here again with another home decor DIY with some basic supplies you may have lying at home or easily accessible at the local dollar store. I wanted to find an *aesthetic* way to display some enamel pins I’ve been collecting. Many of the DIY ideas I found on pinterest involved embroidery hoops, and I decided to make my own to fit the vibes of my home!
Keep reading below to see how to easily craft your own :)

Pin credits:
The Office and Friends pins from Goell Nerd Pins | Bottled Feelings pin from Love Lettering

Materials
- Embroidery Hoop
- Paint colour of your choice
- Sponge brush
- Fabric in your pattern of choice, I decided to upcycle this dust bag that came with a candle purchase
- Scissors if you need to cut your fabric to size
- Hot glue gun
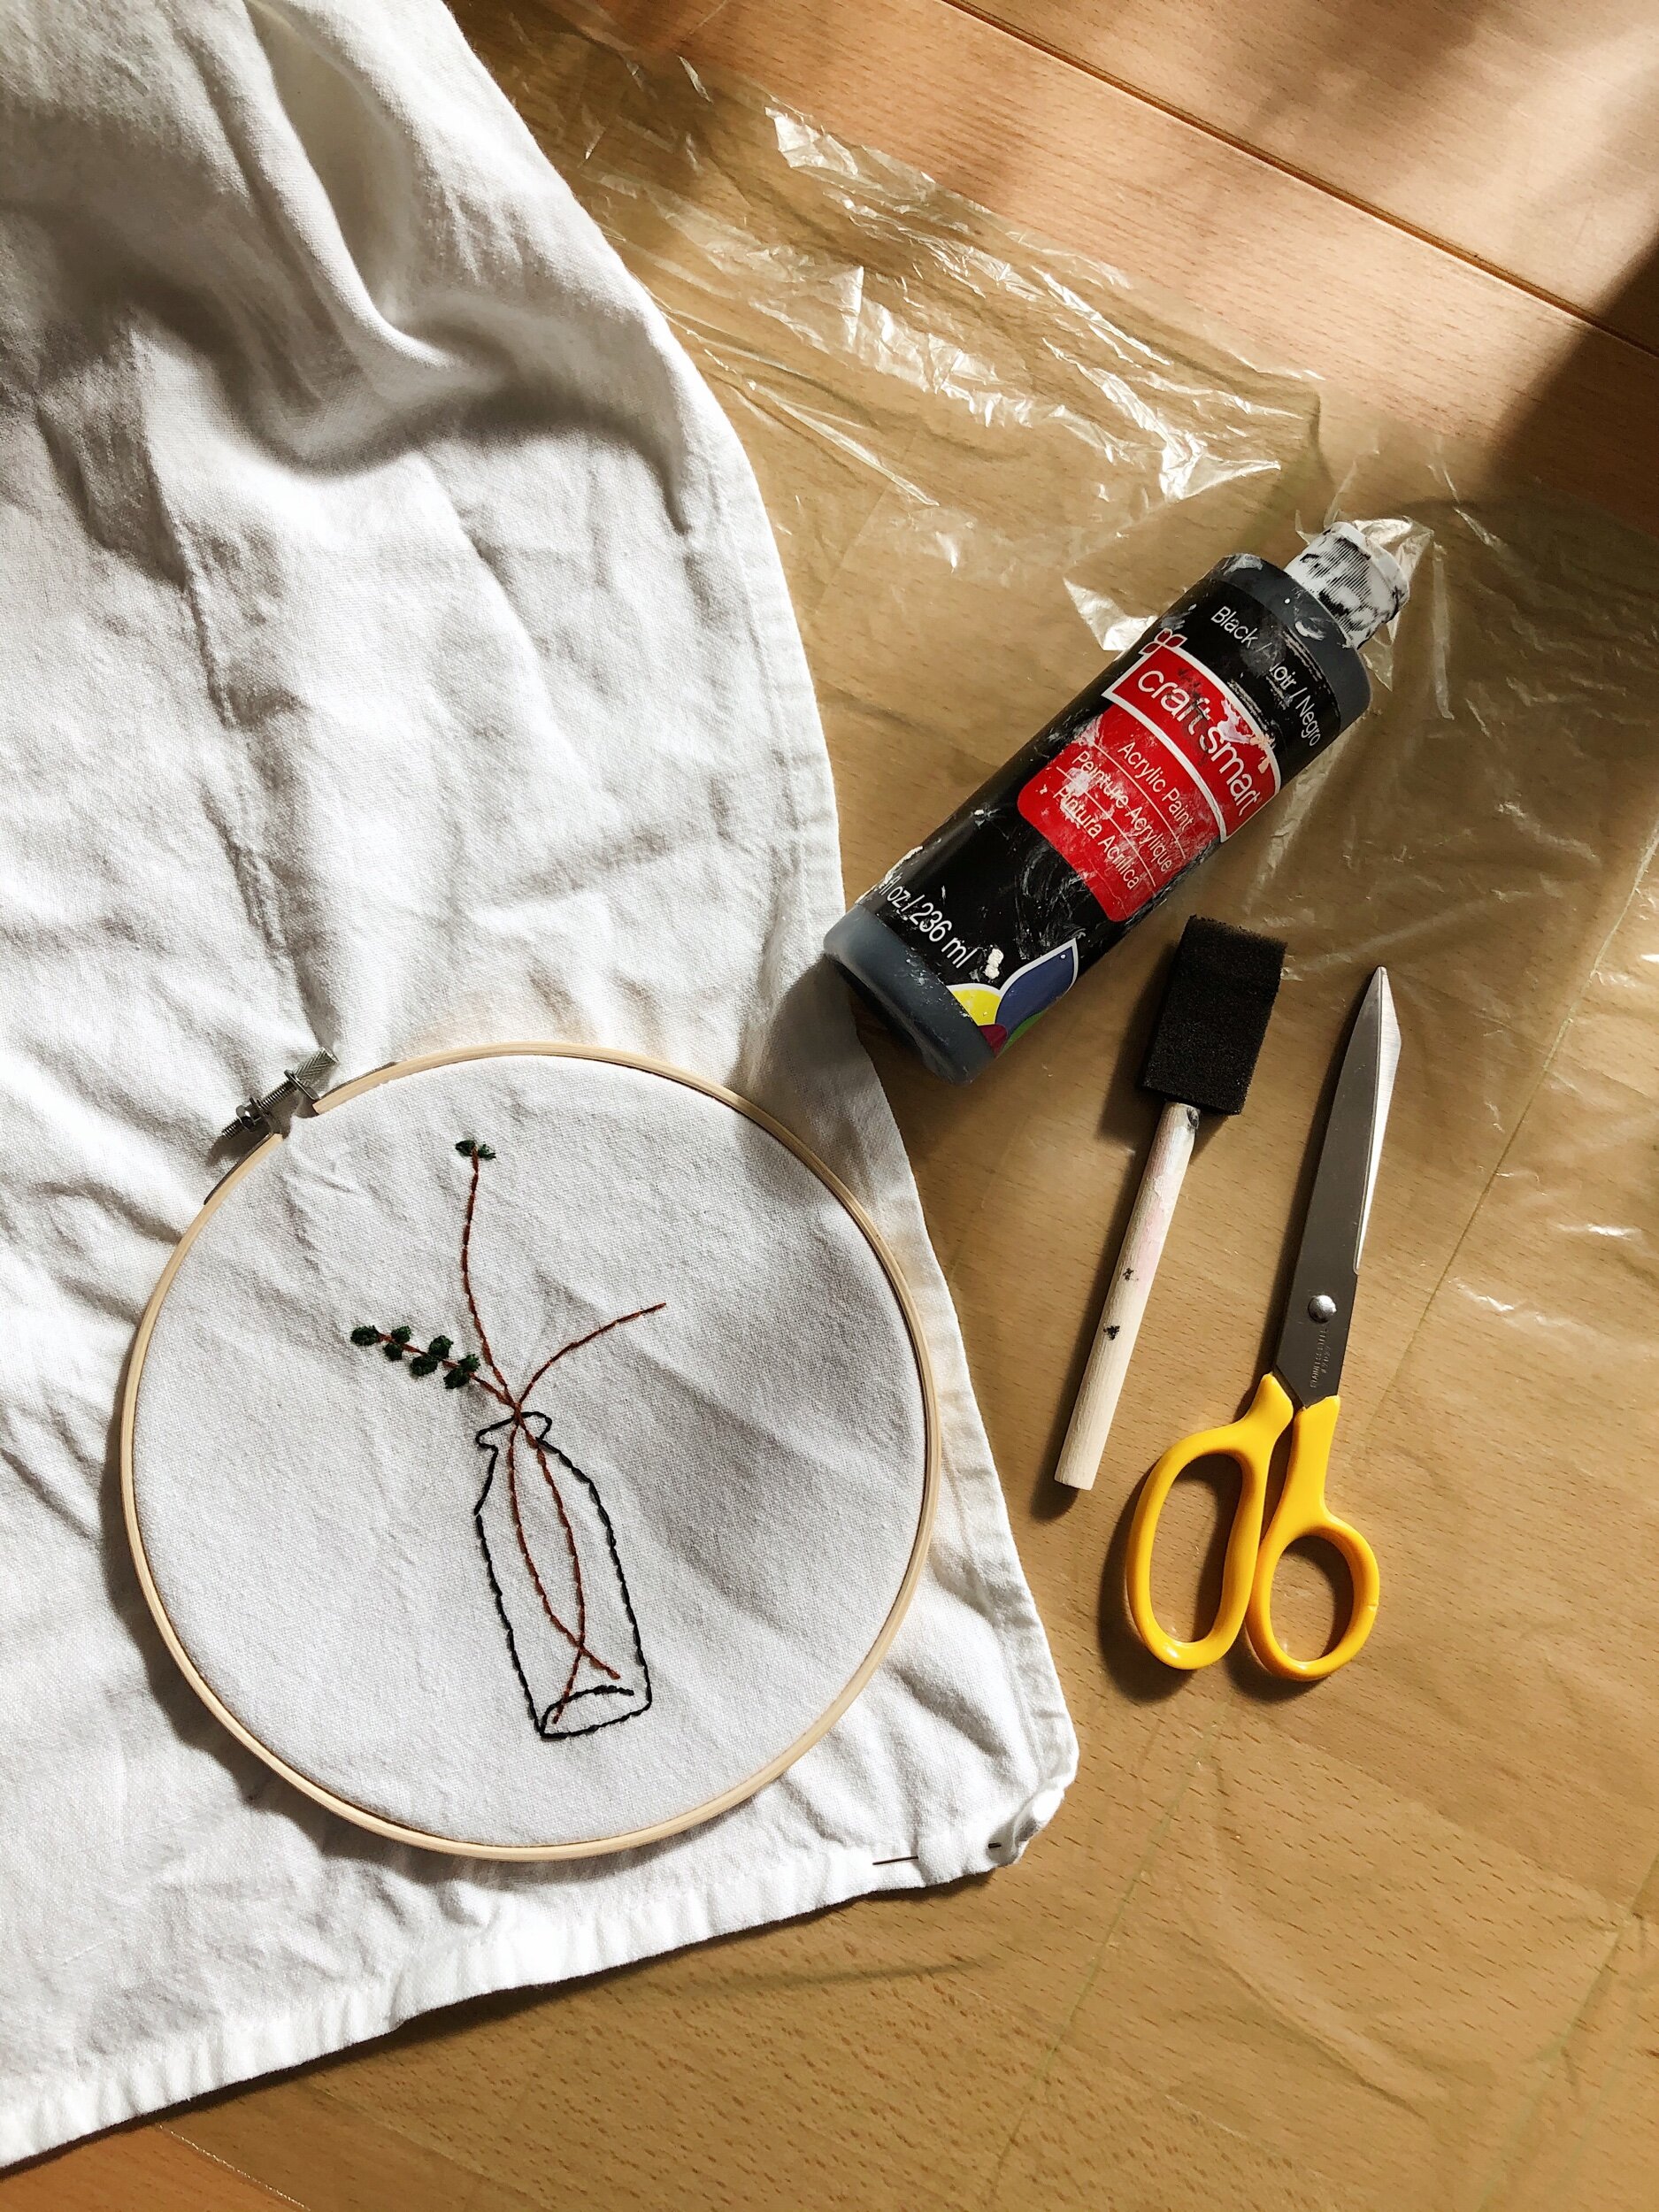
i decided to Upcycling this embroidery hoop from a DIY tea towel craft that I never finished…
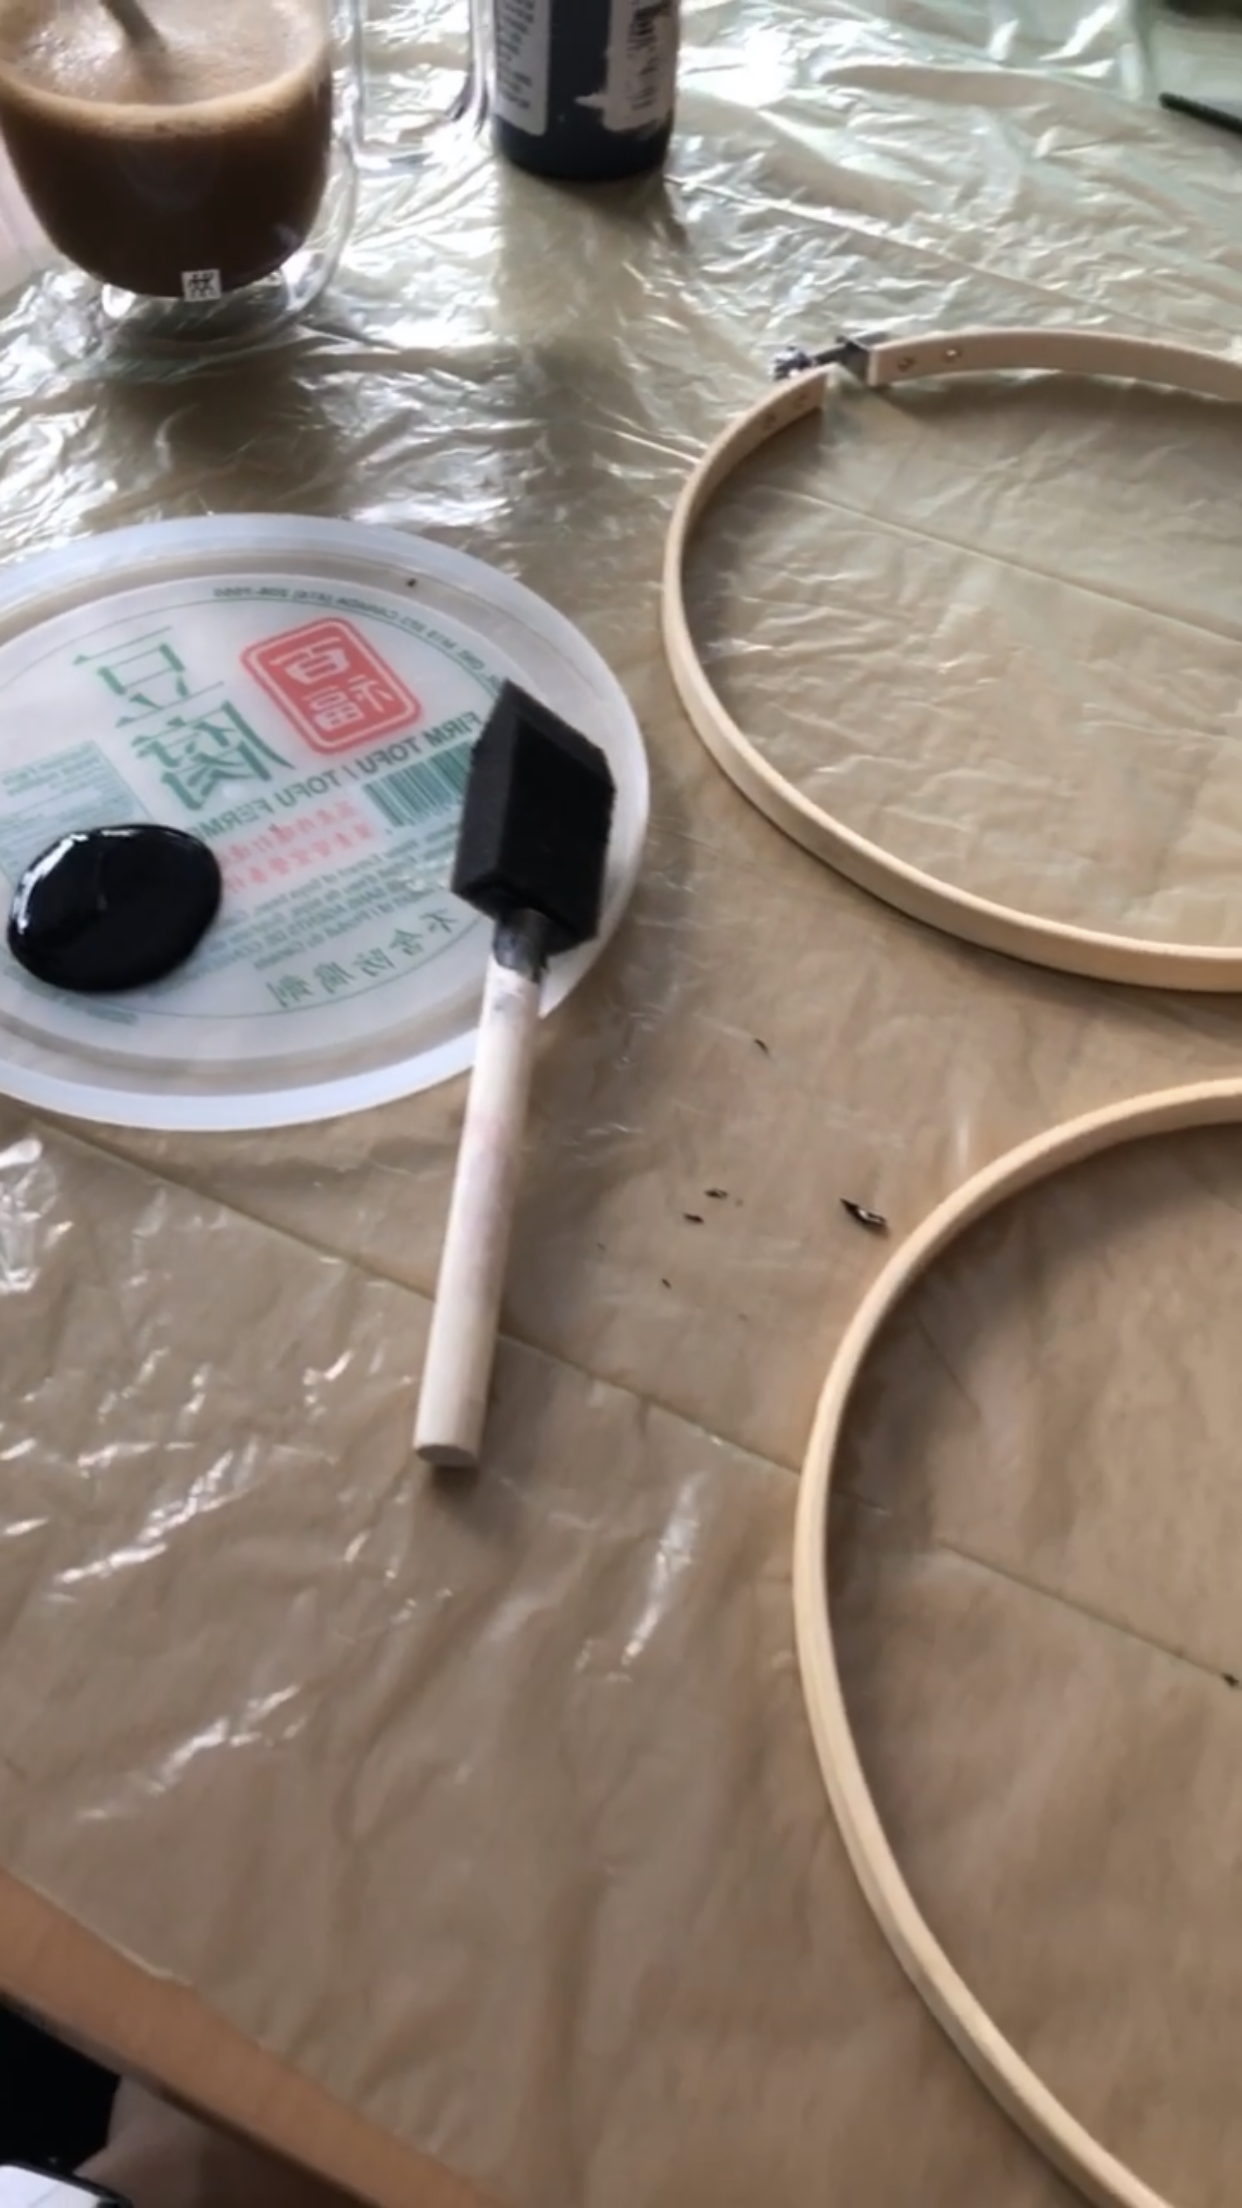
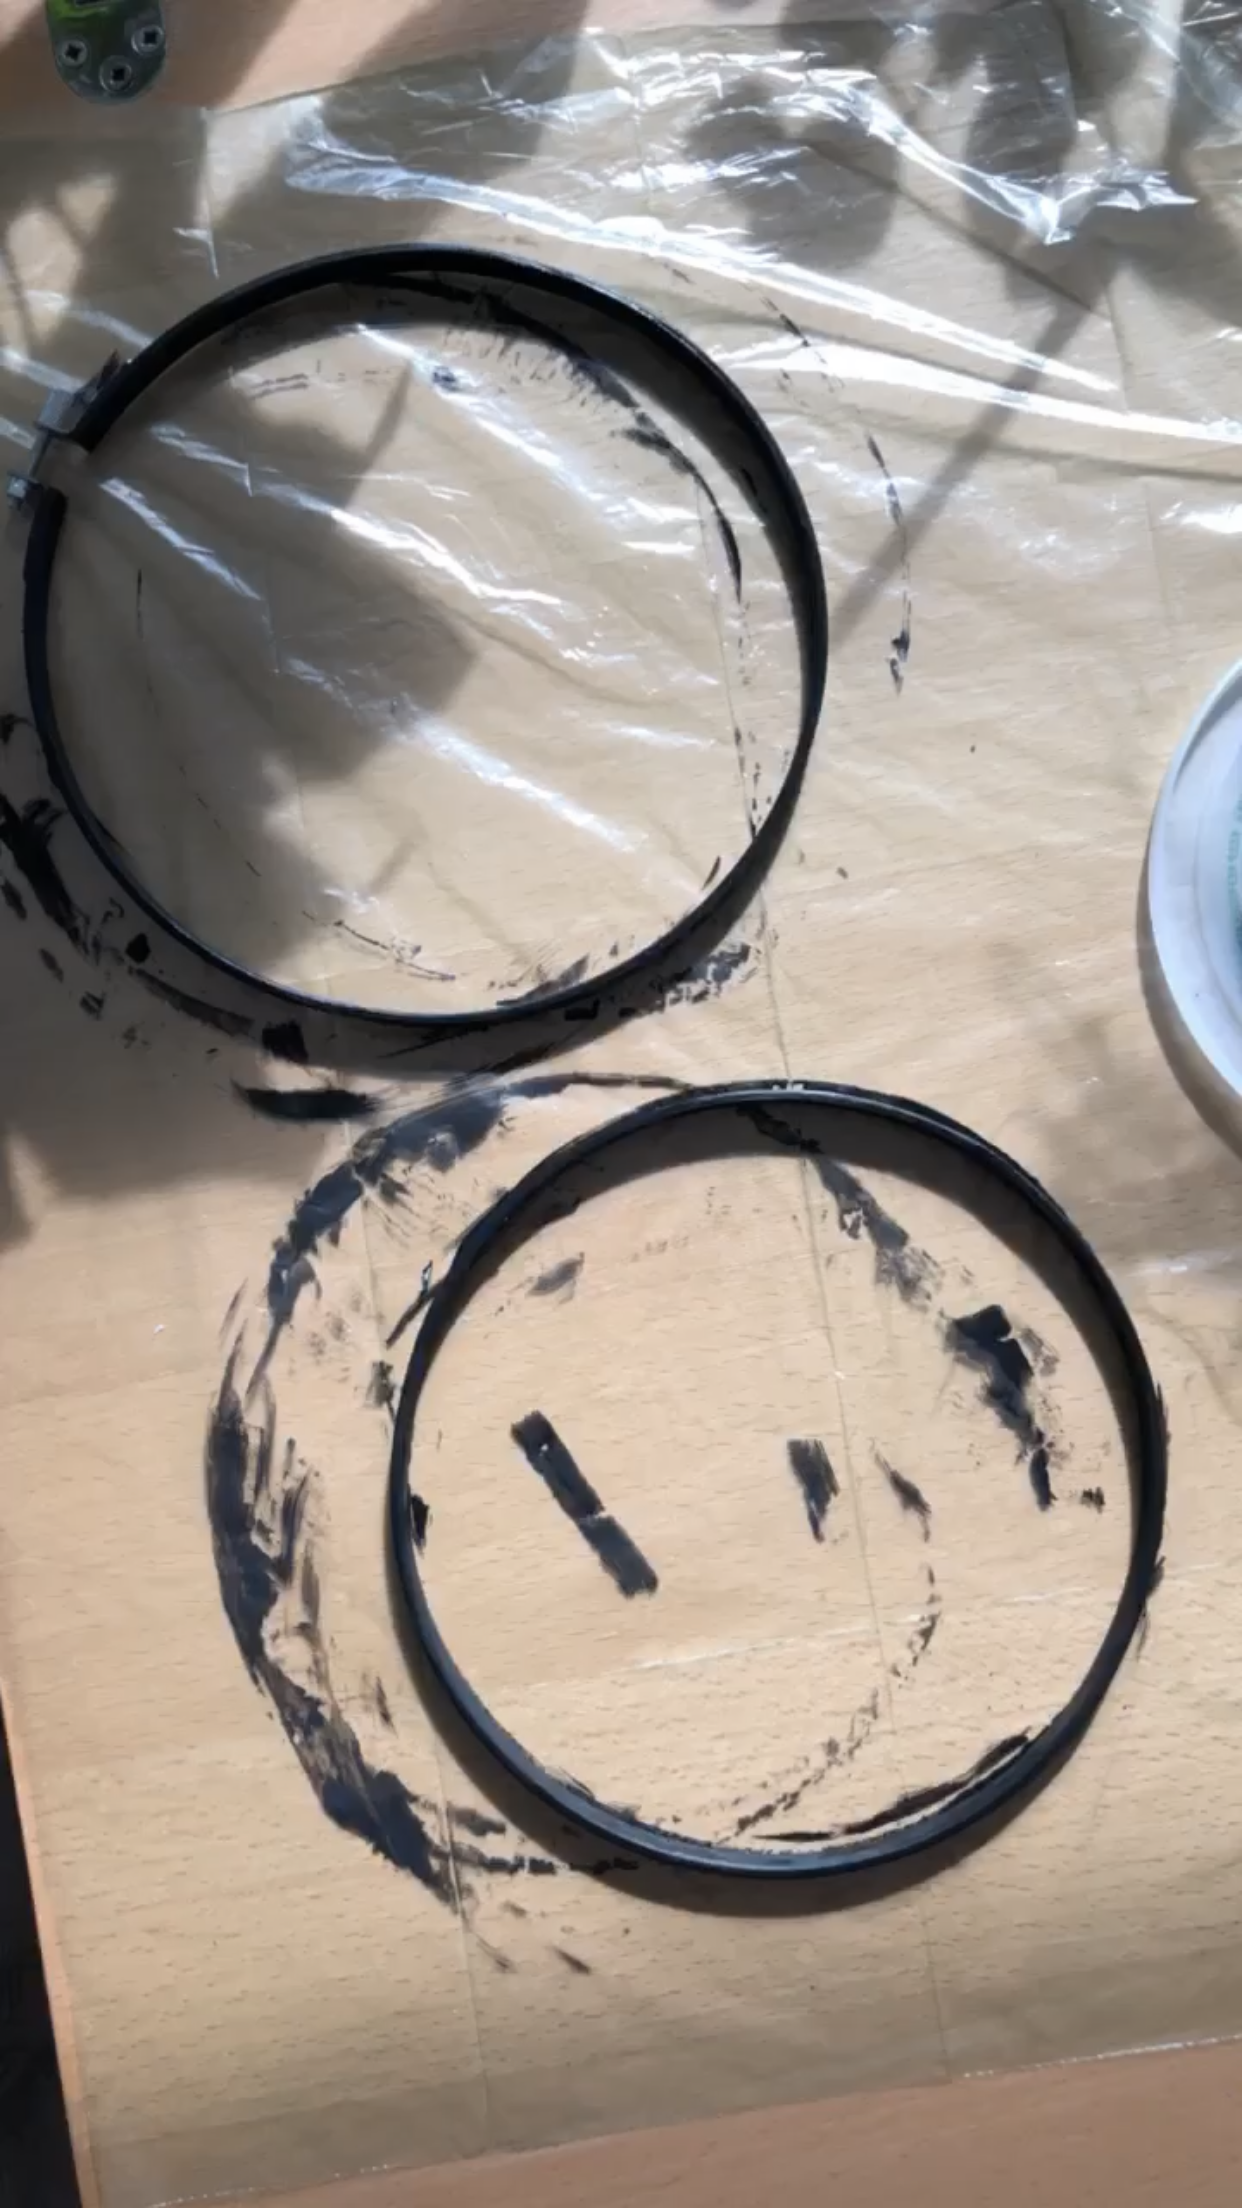
paint your hoop
Paint your embroidery hoop in the colour of your choice. This step is optional - if you prefer the wooden look of the hoop then you can even skip this step!
I went with a black acrylic paint to give it a nice modern look
Remember to paint the outer rim on both sides and all around - the inner rim may not actually need to be painted since it will be hidden behind the fabric, but for consistency sake I painted it as well.
choose your fabric
Once the paint is dry, all you need to do is reassemble the hoop with fabric of your choice. I decided to upcycle this dust bag that came with a candle purchase (because let’s be real, who needs a dust bag for their candle???).
You can easily use any fabric lying around, but can totally get creative here (e.g. old pillowcase, dust bags, fabric odds and ends)! Cut your fabric so that it’s about 2” bigger than your outer hoop.

Assemble with fabric of choice
Reassemble the embroidery hoop by laying the inner hoop on your table, layer your fabric on top of the inner hoop, then layer the outer hoop on top of the fabric. Ensure your fabric is taut and then tighten the screw on your outer hoop. The fabric should be snug.
Now simply fold over the fabric to the back and use a hot glue gun to glue down the edges over the inner hoop to secure everything down. The back can be messy as it will be hidden, they key is ensuring the fabric stays in place.

you should end up with something like this
You can either hang this as wall-art or use it as an enamel pin display!
Hope this inspires you to create some wall art with materials you have at home, tag and share me in your creations! @blushnlettersco on instagram, pinterest and tik tok!
Cheers,
Vivian